
Customer Facing
We have added a new theme to your Shopify store with "-ninemags" suffix in its name. This is a copy of your live theme with a custom product layout.Please navigate to your Shopify admin dashboard, go to the Themes section, and locate the new theme with the "-ninemags" ending. Click on the Actions dropdown and select Preview to open a preview of this theme.While in the preview mode, navigate to your product with the custom product where NINEMAGS is integrated.After the page loaded, in your browser's address bar, append ?view=ninemags to the end of the product page URL and press Enter. This step will load the product page with the new template and allow you to view the product using the specific layout of the new theme.
➡️ The URL will look like this: https://demo.ninemags.com/products/custom-photo-magnet?view=ninemagsWhen the window reloads, test the functionality of the file uploader. We recommend testing File Uploader at least in one browser on Desktop and mobile.
☝️ What to look for: how image Uploader is positioned on the page, text is not cut off, images can be uploaded, viewed and added to the shopping cart.Place a test order using uploaded pictures and your information: proceed to checkout, enter shipping and billing infomraiton and hit Place Order.
💡 Tip: we added test promo codes to your store that you can use to place a free order. Codes are Ninemags and NinemagsShip. If you use both, you will get $0 order and will not need to pay for the order.
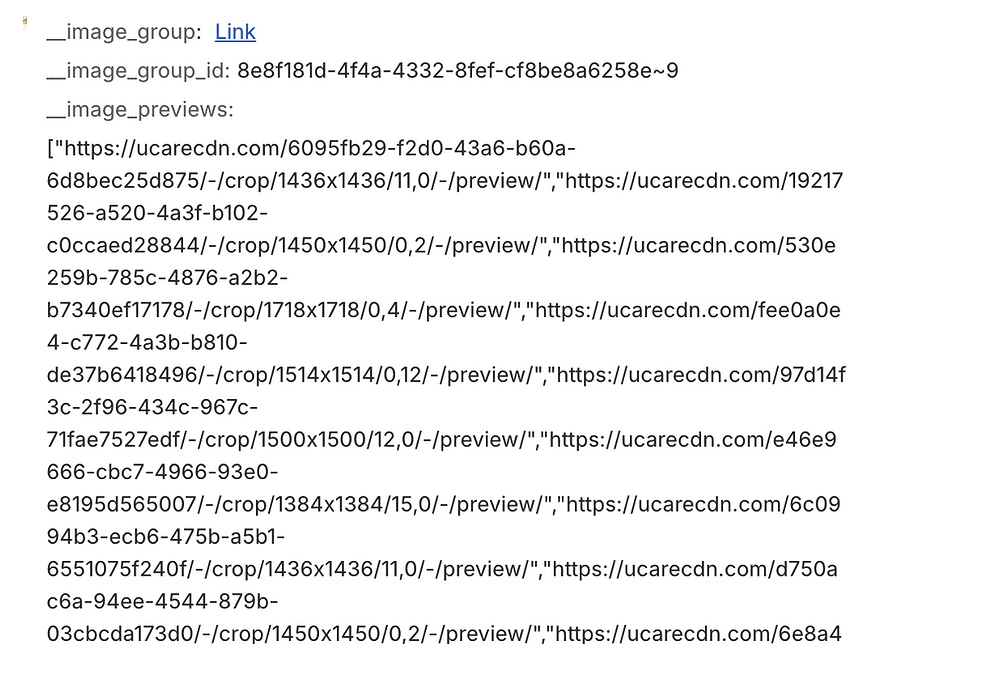
Note: skip steps 1-4 if the integration was done directly in your published theme (we will mention that in the email notificaton).Shopify AdminWhen you placed the test order, navigate to Shopify Admin and find your order.Order information should have the following attributes under the product name:
__image_group
__image_group_id:
__image_previews:What you should see under the product information in Shopify:
1.Button Style Settings Instructions


